
Spy Watch Camera Instructions: Quick & Easy Steps
Below I will go through in-depth, step-by-step instructions for spy watch cameras.
Using these compact devices can be tricky initially, but don't worry. I will guide you through the steps to turn you into a pro in no time!
Setting Up your Spy Watch Camera

Charging the Battery

When I first got my spy watch, the first step I took was to charge it. Let me walk you through the process:
- Locate the charging port. This is typically on the side or back of the watch, and it might be covered with a small rubber or silicone flap to maintain its discreet appearance.
- Connect the provided USB charger to the charging port on your watch.
- Plug the other end of the USB cable into a power source. This could be a computer, a wall adapter, or a power bank.
- A light may indicate the watch is charging. This usually turns red or orange when the device is charging and green or turns off when the device is fully charged.
- To preserve the life of your battery, disconnect the charger once the watch is fully charged.
Remember to turn off the watch before starting the charging process, as some models require the device to be powered off to charge effectively. Now that you've charged the battery, it's time to explore memory and storage options.
Memory and Storage Options
In my experience, having enough memory and storage to save all the captured videos and photos is essential. Here's what I did:
- Check the specifications of your spy watch camera for memory and storage options.
- If your spy watch uses a micro SD card, locate the card slot and insert the card.
- Some spy watches may have built-in internal memory, negating the need for a separate card.
- Others may require an additional micro SD card. Make sure it's compatible with your watch.
- Format the storage, if necessary, through the watch menu or by connecting it to a computer.
Now that we've sorted memory and storage let's connect the watch with your smartphone or computer.
Pairing with a Smartphone or Computer

Pairing your spy watch camera with your smartphone or computer is essential for viewing and managing your recordings. This is how I did it:
- Turn on your spy watch camera.
- Enable the device's Bluetooth feature (if available).
- From your smartphone or computer, search for available Bluetooth devices.
- Select your spy watch camera and follow the on-screen instructions to pair.
- Some devices may require you to enter a pairing code. Check your watch manual for that.
- In other cases, the system might guide you through a connection app.
Once paired, you can easily access and manage your videos and photos through your smartphone or computer. Enjoy exploring and utilizing your new spy watch camera to its fullest potential!
Operating Instructions
Navigating the Buttons

Let me share the basics of navigating the buttons on a spy watch camera. On most spy watches, the buttons are located around the watch face, typically at the 10 o'clock and 2 o'clock positions.
Buttons on Spy Watch Camera:
- 10 o'clock button - Used for powering your watch, voice recording, and video recording.
- 2 o'clock button - Taking photos, switching between modes, and turning on night vision.
Now, let me give you a step-by-step guide to work with the buttons:
- Familiarize yourself with the buttons and their functions.
- Apply a gentle, firm press to activate the buttons to minimize accidental usage.
Starting and Stopping Video Recording

Starting the Video Recording:
- Press and hold the 10 o'clock button until a red LED light flashes.
- Release the button and let the red LED light flash for a moment. It means the camera is initializing.
- When the red LED light stops flashing, you're good to go. Your spy watch is now recording a video.
In some spy watches, starting the video recording might require pressing a different button. However, button functions can differ in some watches, so always check the user manual with your watch.
Stopping the Video Recording:
- To stop the recording, press and hold the 10 o'clock button again.
- The red LED light blinks a few times, saving the recording.
And there you go! With these quick instructions, now you can confidently use your spy watch camera to record videos. Don't worry; you'll get the hang of it with practice. Just remember to stay discreet and enjoy using this fantastic gadget!
Data Transfer and Storage
Accessing Recorded Videos
When I first started using spy watch cameras, I had some trouble figuring out how to access the recorded videos. But, I've mastered the process with a little patience and guidance.
- After the spy watch camera has recorded a video, first ensure the device is powered off;
- Next, locate the hidden camera's small storage compartment, which usually houses the memory card;
- Carefully remove the memory card from the compartment and insert it into the corresponding slot on a computer;
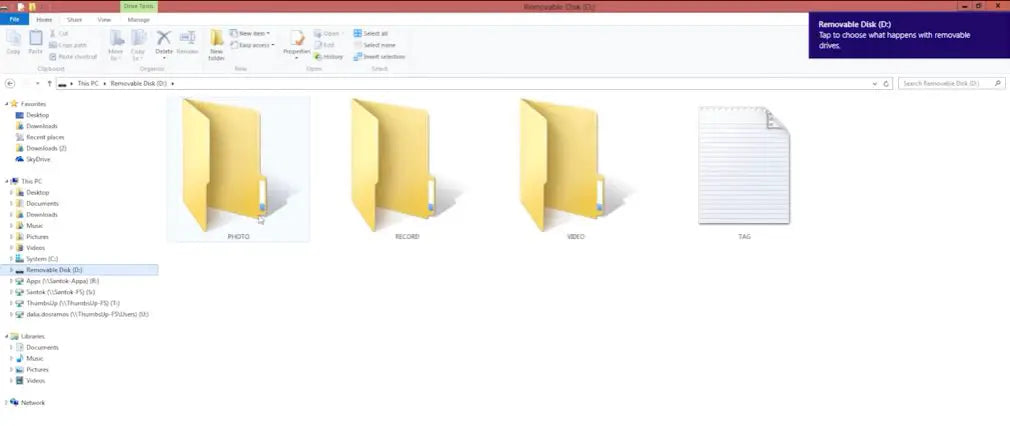
- Once the memory card is recognized, navigate to the video file folder, and voilà! You can now access, view, and manage the recorded videos.
By following these steps, you, too, should be able to access your spy watch camera's videos in a breeze.
Connecting to a Computer
You may wonder how I transfer my recorded videos from my spy watch camera to my computer. Well, here's a step-by-step guide on how to do it:
- Before connecting your device to the computer, ensure the spy watch camera is turned off;
- Next, locate the USB port on your spy watch camera - this is usually hidden beneath a cover, or part of the wristband, to keep it discreet;
- Connect a USB cable to the spy watch camera's USB port, and then plug the other end of the cable into an available port on the computer;
- Once connected, your computer should automatically detect the device, allowing you to access the files on the memory card and transfer them to your computer for safekeeping.
Bear in mind that you might need to install a specific driver or software for your spy watch camera to be recognized by your computer. Just follow the instructions provided by the manufacturer, and you should be ready.
Using the Additional Features
| Additional Feature | Description | Instructions |
|---|---|---|
| Night Vision Mode | Some spy watches cameras come with a motion detection feature. This means the camera will only start recording when it detects motion within its field of view. | 1. Make sure the spy watch is in Standby mode. 2. Press the 2 o'clock button twice, and the red LED will start flashing. 3. The night vision mode is now active, and you can start capturing images or videos. |
| Water Resistant Capabilities | The spy watch is water resistant. It can withstand occasional water splashes, providing peace of mind. However, it's not recommended to completely submerge the watch in water. | 1. Look for the manufacturer's waterproof (IP) rating. 2. Verify the resistance rating and avoid exposing the watch to situations beyond its allowed limits. For instance, if the IP rating says it can withstand water up to 1 meter, don't dive into a pool with it. |
| Still Photography | The spy watch camera is capable of capturing still images in addition to video. The image quality will depend on the specific model and its camera resolution. | 1. Ensure the spy watch is in Standby mode. 2. Typically, there is a specific button or combination of buttons to press to activate 3. Once in photo mode, press the appropriate button to take a picture. |
| Motion Detection | Some spy watches cameras come with a motion detection feature. This means the camera will only start recording when it detects motion within its field of view. | 1. Activate the motion detection mode, usually by pressing a specific button or sequence. 2. Once activated, the camera will start recording automatically when motion is detected within its range. |
It's important to remember that models and features may vary, so it's always best to consult the user manual specific to your device for the most accurate and detailed instructions.
Additionally, while spy watch cameras can be intriguing gadgets with diverse applications, their use must always comply with local laws and regulations.
Maintenance and Care
Cleaning the Lens
I've learned that maintaining the lens of my Spy Watch Camera is essential for capturing clear and sharp videos. I usually use a microfiber cloth or a lens cleaning pen gently to clean the lens. I ensure not to touch the lens directly with my fingers since it could leave smudges or fingerprints.
When in a pinch, I've also used a soft, lint-free cloth to carefully wipe away any dust or particles from the lens.
Optimizing Battery Life
Like maintaining maximum battery life on your devices, keeping your Spy Watch Camera's battery in top shape is a priority. Here are a few tips I picked up to prolong the spy watch's battery life:
- Turn off unnecessary features: I found that disabling features like night vision saves power and extends the battery's life when I don't need them.
- Charge the battery properly: As recommended, I use the provided USB cable to charge my spy watch, connecting it to my computer or a USB wall charger. Never overcharge the battery; unplugging the watch when fully charged helps prolong its overall life.
- Store in a cool, dry place: I ensure store my Spy Watch Camera in a temperature-controlled environment when not in use. High temperatures can affect battery life and performance negatively.
By giving Spy Watch Camera the tender loving care it deserves, you can ensure it never lets you down when you need it the most. That way, you can focus on capturing those essential moments without worrying about blurry videos or a dead battery.
References
Books:
- "The Spy's Guidebook" by Wilson Casey
- "Spycraft: The Secret History of the CIA's Spytechs, from Communism to Al-Qaeda" by Robert Wallace, H. Keith Melton, and Henry R. Schlesinger
- "101 Spy Gadgets for the Evil Genius" by Brad Graham and Kathy McGowan
Website Resources:
- Autodesk Instructables. https://www.instructables.com/
Video References
Thumbs Up!
SpyCentre Security
WATADEEEL