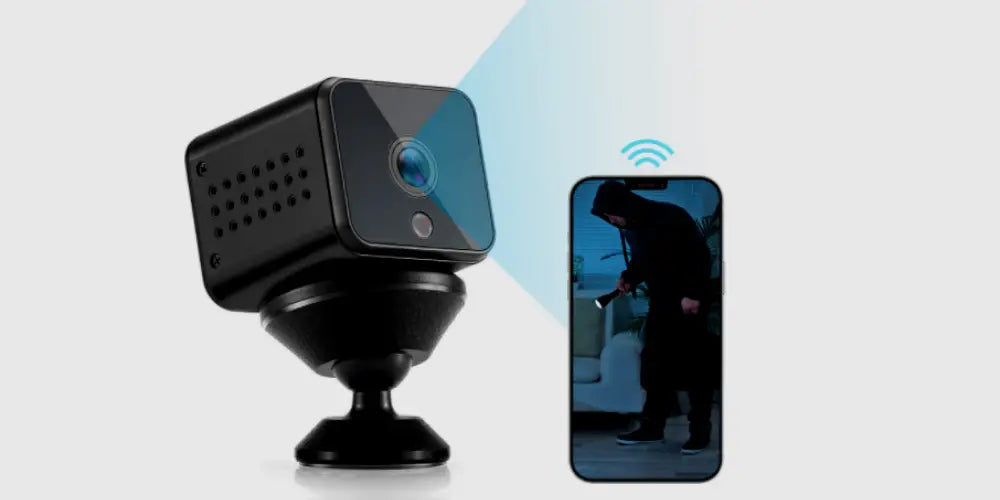
How to Set Up a Spy Camera at Home
Share

To successfully install a spy camera, you need to:
- Get a wireless spy camera and its accessories. A mini version is preferable as it is easy to hide.
- Secure NVR (Network Video Recorder) to receive/record video transmissions from the installed cameras. NVR can be used both for wired or wireless systems. (1)
- Have a screen monitor system placed in a private place inside the house (optional).
- You need extension cords for each of the cameras that do not reach the electrical outlets.
- Use a junction box for each of the cameras to enclose wire connections.
- Use cord concealer kits or cord covers to conceal outdoor wires, usually moldings.
- Have a video cable and BNC connectors and wire strippers or cutter.
- The primary handyman tools: screwdriver, pliers, cable tie nylon, extra small screws, drill & drill bits, mechanical hammer.
FAQ: Can I install a spy camera without NVR?
Yes. Technically, the exact installation requirements would apply if you used smart Wi-Fi cameras. Even if you don't have an NVR, smart spy cameras support real-time live streaming. It enables you to monitor your property from anywhere via a mobile device. A Wi-Fi smart spy cam instantly saves a 12-15 second video clip stored directly in the cloud for free for a maximum of 14 days.
Here are a few points to remember before you get off to start with your home spy camera installation.
1) Identify the Different Angles
Using your mobile phone, take pictures of every entry point into your house. With this, you know which angle works best to capture every person's face entering the camera range. Technically, spy cameras use the fish-eye lens, so you can try to mimic it in your phone to test the angles.Similar explanation:
2) Choose the Perfect Spot
After testing the different angles, you can easily decide the right spot to hide the spy camera.For Indoors: The ideal position should be in the room's corner near the power outlets, where any entry point is most likely visible.For Outdoors: Consider a higher location that will cover the gate, window access, parking lots, backyards, etc. Choose areas over 10 feet so that they cannot be quickly crushed.
3) Pick the Best Spy Camera
Now that you have determined the cameras' best location, you will need to find the correct type of camera for your home. Any kind of camera is preferable to every house structure, depending on the property's size.I advise that you always check on the dimensions and characteristics of the product. Consider the capture rate and the amount of data it can capture to the area you want it to cover.Without further ado, let's get on with the steps...
Easy Step by Step Procedure to Set Up a Home Spy Camera
Setting up a camera in its operating position:
1. The first step is to place the camera in the desired location and create a drilling reference mark2. Then drill and hammer the screw, paneling to the exact angle required.3. Next is to screw the camera in place to ensure a secure fit.4. Now, plug the camera's power cord into the port.5. Finally, enclose all wire links in a junction box to create a clean display.
Organizing the cable:
The most challenging part of cable installation is when the desired location is quite far from the power source. This method requires using a sufficient amount of extension wires to connect the power running to the system.
1. Start by creating a channel for all of the video-cable linking the cameras to the NVR unit.2. Affix wire moldings to hold the wire in place and stable.3. Then nail or attach the moldings throughout the pathway, then insert the cables.4. Lastly, you should also insert the extension cables, along with the video-cable components, into the molding.
Installing the NVR camera system:
1. Store your NVR camera system in a locked compartment first to secure the footage even if an intruder finds the device.2. Then make sure that the NVR is in the best location to ensure signal strength.3. Depending on how many you have, connect the cameras to the NVR before turning it on,4. Now, link the NVR to the monitor (TV, smartphone, tablets, etc.) (2)5. It is vital to keep the monitors in a strategic location.6. The last step is to switch on all of the cameras. Wait for the videos to appear on the monitors. Then you are good to go.
BNC port connection procedure:
Steps to install video cable via BNC port connectors:
1. Skin out up to 8cm of the outer PVC jacket.2. Peel out the inner video wire PVC jacket as well as the solid conductor PVC.3. Measure the solid conductor and connect it to the BNC copper pin.4. Attach the braided shield to the BNC zinc alloy using the PVC shield.5. To improve grip, press the alloy pin.6. Use electrical tape to insulate.7. Connect the red and blue wires to the DC male pin for DC power.8. Tape to insulate.9. Once finished, the BNC connector connects to the cameras, and you are done.
